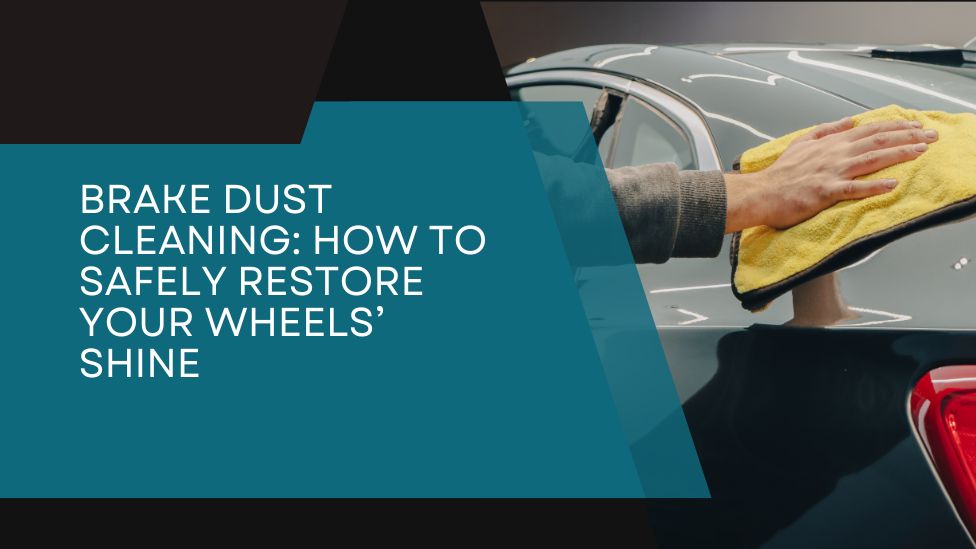
Brake dust is the grey-black film that builds up on your wheels, usually worst on the front ones because the front brakes do most of the stopping. Left alone, it doesn’t just look bad. It bakes onto the finish and, given enough time, can stain and pit it.
The good news is that it comes off safely with the right approach. The catch is that a lot of wheel damage isn’t caused by brake dust at all. It’s caused by the cleaner or the brush someone used to get rid of it.
Why brake dust is so stubborn
Every time you brake, the pads and rotors shed tiny particles of metal and pad material. Those particles come off hot, and the iron in them can lodge in the wheel’s finish. Add moisture and they start to rust in place. That’s usually what the little orange specks on a light-colored wheel are.
A Michigan winter makes it worse. Brake dust mixes with road salt and grime into a paste that clings to the barrel and spokes and holds moisture against the finish for weeks at a time.
Some vehicles simply make more dust than others. Performance brakes and heavy vehicles tend to be the worst. If the dust really bothers you, ask about ceramic brake pads at your next brake job. They generally leave noticeably less visible dust than semi-metallic pads, though your mechanic should have the final say on what suits the vehicle.
Start by knowing your wheel finish
The right cleaner depends on what the wheel is made of and how it’s finished. This is the step most people skip.
- Painted or clear-coated alloy. Most factory wheels are this type. They handle a pH-neutral wheel cleaner and an iron remover well.
- Polished, uncoated aluminum. Bright and soft, with no protective clear layer. Strong or acidic cleaners can cloud or stain it, so use the gentlest cleaner that works and test it first.
- Chrome. It looks tough, but neglected chrome can pit. Avoid harsh acids, steel wool and anything abrasive.
- Matte or satin. Keep waxes, polishes and shine products off, or you’ll end up with glossy patches. Use products labeled safe for matte finishes.
- Powder-coated or aftermarket finishes. Follow the wheel maker’s care advice if you can find it.
Not sure what you have? Treat it as the most delicate type and test any product on the inside of the barrel first, where a mistake won’t show.
What you’ll need
- A bucket used only for wheels, never for paint
- A pH-neutral wheel cleaner for regular washes
- An iron remover for deeper cleans (it turns purple as it works and smells awful, so wear gloves)
- A soft-bristle brush for the wheel faces
- A long, narrow brush for the inner barrel
- A small detailing brush for the lug nut holes
- A separate stiff brush and cleaner for the tires
- Microfiber towels you keep for wheels only
Keep these tools away from your paint. Brake dust is abrasive, and a wheel mitt that later touches the paint can leave scratches.
Step by step
- Let everything cool down. Wheels and brakes should be cool to the touch. Cleaner sprayed onto a hot wheel dries fast and can leave stains.
- Do the wheels and tires before the paint. Wheel cleaning splashes. Doing it first means the grime doesn’t land on paint you’ve already washed.
- Work one wheel at a time. That way nothing dries on while you’re busy with the other three.
- Rinse. Knock off the loose grime, including inside the barrel and around the brake caliper.
- Clean the tire. Use the stiff brush and a tire cleaner. The brown film on a sidewall is a mix of old dressing, road grime and compounds that work their way out of the rubber, and it keeps making a mess of the wheel if you leave it.
- Apply the wheel cleaner. Spray the face and the barrel and give it the time the label calls for. Don’t let it dry.
- Agitate. Long brush in the barrel, soft brush on the face and spokes, small brush around the lug nuts and the valve stem.
- Rinse thoroughly. Get behind the spokes and into the lug nut holes. Leftover cleaner can streak or stain.
- Dry it. A wheel towel or a blower prevents water spots, which show up badly on dark wheels.
Every so often, or whenever a wheel still looks dull after a normal wash, follow up with the iron remover on a clean, cool wheel. Spray it on, wait for the purple to show, give it a light brush and rinse well. After a long winter, a second round is safer than reaching for something stronger.
Mistakes that damage wheels
- Acid-based wheel cleaners on a finish that can’t take them
- Household products like oven cleaner, bathroom cleaner or heavy degreasers
- Letting any cleaner dry on the wheel
- Wire brushes, steel wool or the scrubby side of a kitchen sponge
- Using the same mitt on the wheels and then on the paint
- Spraying tire shine onto the wheel face, where it attracts dust
When cleaning won’t fix it
Some wheel problems aren’t dirt. Peeling or flaking clear coat, white fuzzy corrosion creeping under the finish, pitted chrome and curb rash will all still be there after the best wash of your life. Those need a wheel repair or refinishing specialist, not a stronger chemical. Better to know that before you spend an afternoon scrubbing.
Making the next clean easier
The easiest brake dust to remove is the dust that hasn’t had time to bake on. Clean the wheels every time you wash the car, and in winter, rinse the wheels and lower panels whenever you get a mild day.
Protection helps as well. A wheel sealant gives brake dust less to grip, and a ceramic coating works on wheels for the same reason it works on paint. The surface is slicker, so much of the dust comes off with water and a soft brush.
If you’d rather hand the job to someone else, the wheels and tires are part of each of our auto detailing packages, and our Best Auto Detail package includes a wheel and tire detail and shine.
Get your wheels looking right again
Our shop is in Otisville, near Flint, Davison and Grand Blanc, and we work by appointment. Call (810) 529-0019 or ask for a free quote.